When upgrading to the latest version of OS-X I wanted to make sure I did a clean install of the operating system. The reasons for doing a clean install instead of an upgrade are pretty straight forward. You back-up your important files and programs and then you start new. This flushes out all the junk you are no longer using, and all the files left behind by applications that are no longer on your system. It’s a bit more work, but you get a super fresh and snappy computer when you are done with it.
With the release of Lion, and now Mountain Lion, it has became slightly more complicated to do a clean install. You are downloading the operating system to your computer therefore it’s impossible to wipe the computer clean and install it as you would delete the installer. This means need to put the new operating system on DVD or on a USB stick so that you can boot your computer from one of those when you go to wipe the internal hard disk clean.
I won’t go into details of how I installed Mountain Lion, that’s not the intention of this post. I will say that I followed these instructions from OS-X Daily to create a bootable USB install drive and they worked really well.
What I wanted to go over on this post was how I prepared Aperture for this move and how I had my Aperture library up and running problem free in no time at all.
Step 1 – Back up your preferences
The first thing you want to do when you are going to do a clean install is go and copy all of your preferences. Open the Finder and select the “Go” option from the top menu. You will then see a list of locations on your computer. While looking at this list hold down the “Alt” button and you will see “Library” appear. While continuing to hold “Alt” navigate to “Library” and select it. This will open a Finder window and bring you inside your “Library” folder which is normally hidden be default (on OS-X Lion and above).
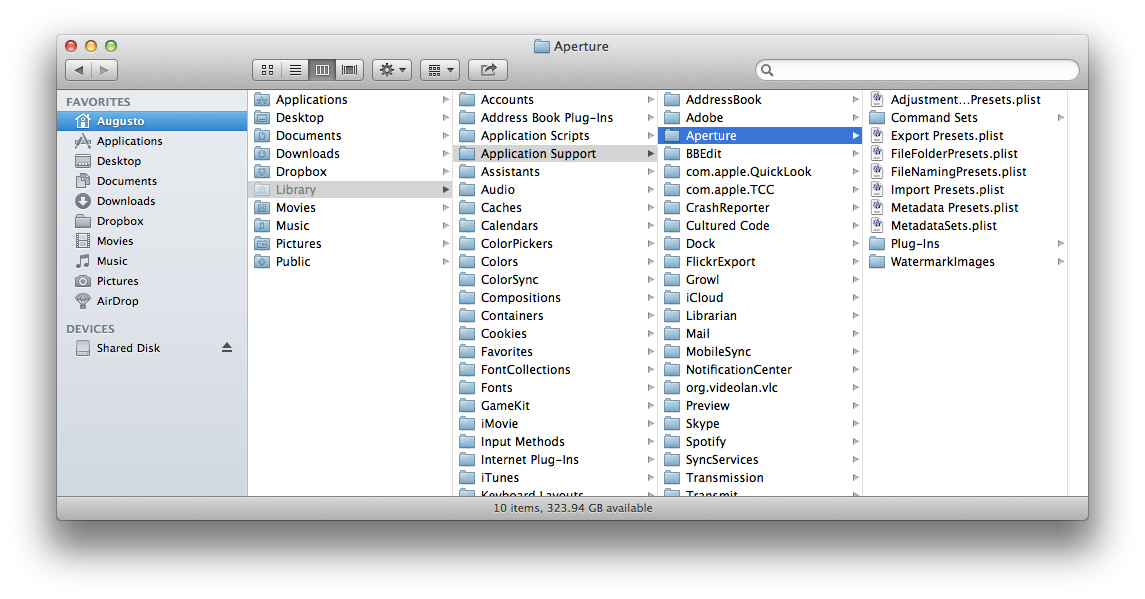
Inside your “Library” folder there is a folder called “Application Support” and inside that folder there is a folder called “Aperture.” You should copy this folder and all of it’s contents to an external hard disk. This folder contains all of your preferences for the program and any presets that you have made. Things like watermarking images on export, for example are all saved here.
Step 2 – Back up your picture library
Now that we have our preferences and presets backed up it’s time to back up our actual picture library.
There are two ways you can manage your picture libraries in Aperture. Referenced libraries, where you select the location of your master images. Then there are Managed libraries, where Aperture puts your master images inside a closed database. I’ve written a pretty good post about the differences between Referenced and Managed files in Aperture and recommend reading it if you are not certain about the differences.
For the sake of this article I am going to assume you are using a managed library, since it’s what I’m using. I have that library stored on my internal hard disk so making a new backup of it before restoring is a must. Doing this backup I discovered something interesting. Copying it to a FireWire 800 disk I felt that copying the massive library file was going too slow. After talking with a friend he recommended I transfer it using the command line prompt in Terminal. He said that moving the file vie Terminal would result in it being copied faster. I gave it a try and felt that there was definitely an improvement.
So instead of just dragging and dropping our Aperture library file, we are going to move it using Terminal. Here goes:
– Open Finder and navigate to your pictures folder or what ever directory holds your Aperture library.
– Keep that Finder window open and open the Terminal application. You can quickly open Terminal by doing command + spacebar to open Spotlight and then searching for “Terminal.”
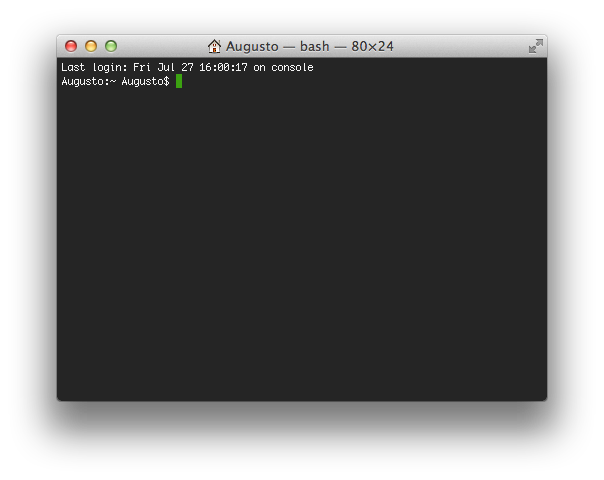
– You should now be looking at a terminal window similar to the one above. Please note I changed the default colors on mine.
– In the terminal window type “cp -r” followed by spacebar. Move back to your finder window, select your Aperture library file, and drag it into the Terminal window. You should be left with a line that has the “cp -r” text you typed followed a blank space and then by the path leading to your Aperture library. If that seems correct hit spacebar again and then go back to your Finder window. In your Finder navigate to the external hard disk and folder where you want to copy your library into. Select the folder and drag it into the terminal window. This should place the path to your external hard disk in the command line right after the path of your Library.
– You can now hit enter to being copying the library to your external hard disk. There won’t be an visual clues that the library is being copied until it is completed. At that point the terminal line with your cursor will then change and show your login/user name. So sit back and grab a cup of coffee. You can get a sense of the progress by opening your external hard disk in Finder and seeing the available free space decrease. This can give you a sense of how long to wait.
Copying your library like this might seem scary, but I found that it preforms much better than copying it in the Finder. When attempting to copy my library file in Finder it was giving me an estimated time of 20 hours, doing it via Terminal got it done in 30 minutes or so. So it’s definitely worth the effort.
When things are completed you will absolutely want to test everything out before doing your clean instal.
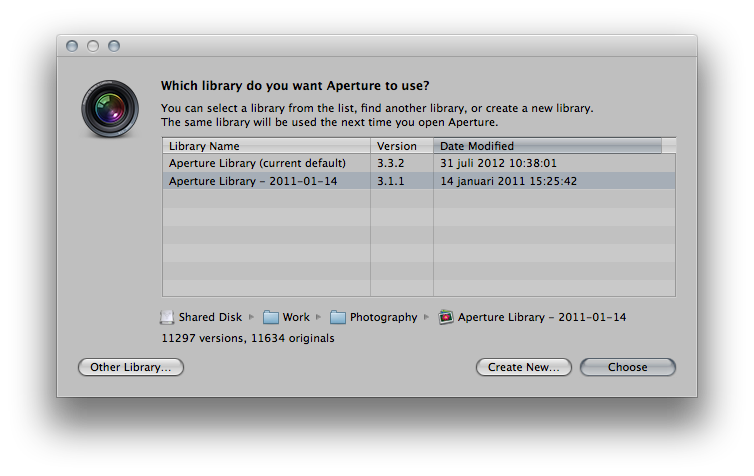
Start Aperture while holding the “Alt” key. This brings up a dialog box, seen above, that let’s you select your library. The dialog box should automatically find the library on your external hard disk, if not there is a button called “Other Library” which will let you search for it. You should note that selecting one of the libraries in the dialog box will make the dialog box show you the location of the library and the amount of pictures in it. This should be helpful if you have multiple libraries with the same name.
Select your duplicate library that you just copied to your external hard disk and give it a test drive. Make sure all your pictures are there and that everything seems to be in order. The speed and performance might be slightly reduced depending on the type of external hard drive and the connection, however we just what to make sure that the library is intact and fully functional.
Step 3 – Putting it all back in place
After you’ve done your clean install and reinstalled Aperture, which is a breeze with the Mac App Store, you will need to place all the files you backed up back into their original location. The way I did it was to start Aperture one time so it creates new versions of the files and then deleting them before replacing with the versions I backed up. You basically follow steps 1 and 2 again but putting the files back into their original locations.
In Conclusion
When you complete that you can start Aperture up and you will have everything back as it was before you restored your computer.
I think there are some interesting things we can take from this.
There is always a big debate over managed libraries or referenced libraries. Here we see a situation that shows an advantage of using a managed library. If your library was referenced and saved on your computers hard disk then you would find yourself having to reconnect all your pictures inside Aperture. Even if you place them in the same directory and create an account with the same user/login name. The program still seems to acknowledge that the patch is different, even though it may be identical in name. Where as a managed library leaves Aperture only looking for that one library file and once it connects it the program knows exactly what’s inside.
I hope this helps. As always when doing this stuff please backup your files securely. Especially with something so valuable and irreplaceable as your photographs.