Today I am sharing a quick tip for how you visualize dust spots in Lightroom and Camera RAW. While I use a combination of Photo Mechanic and Photoshop for my work, I started using Lightroom for my personal photography. It’s been a smooth transition, although I must say that I hate how keyboard shortcuts don’t match up with those in Photoshop Camera RAW. Where for example “C” will be crop in Camera RAW, it will be compare in Lightroom.
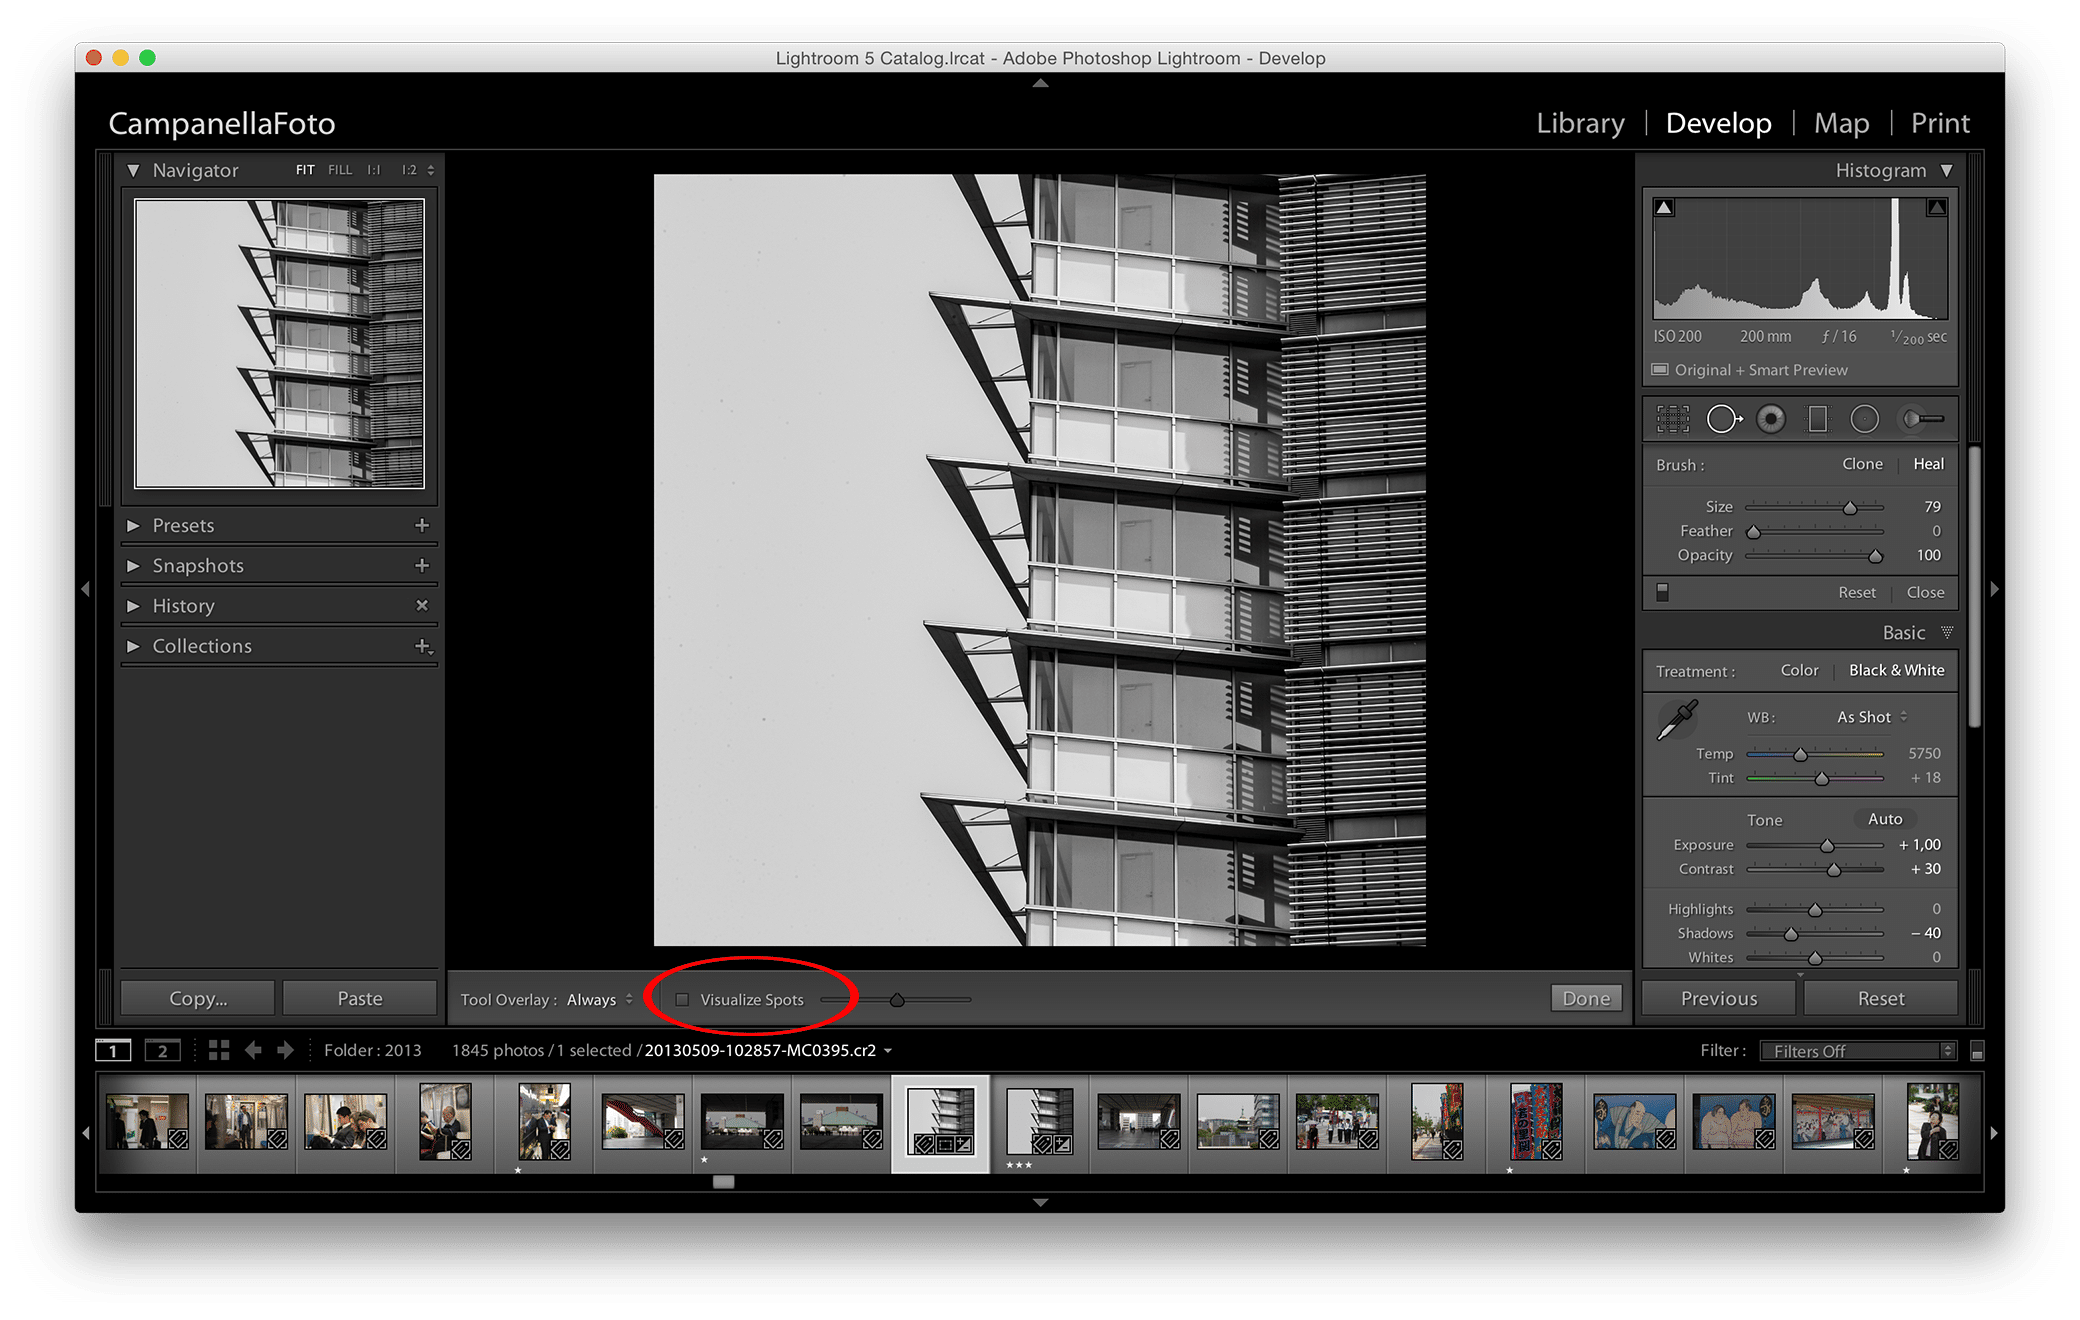
Nitpicking aside, lets get on with this awesome tip. Starting with Lightroom, from the “Develop” module select the Spot Removal Tool (keyboard shortcut Q). With the Spot Removal Tool selected look to the bottom of the screen in the middle pane and select the check box labelled “Visualize Spots.”
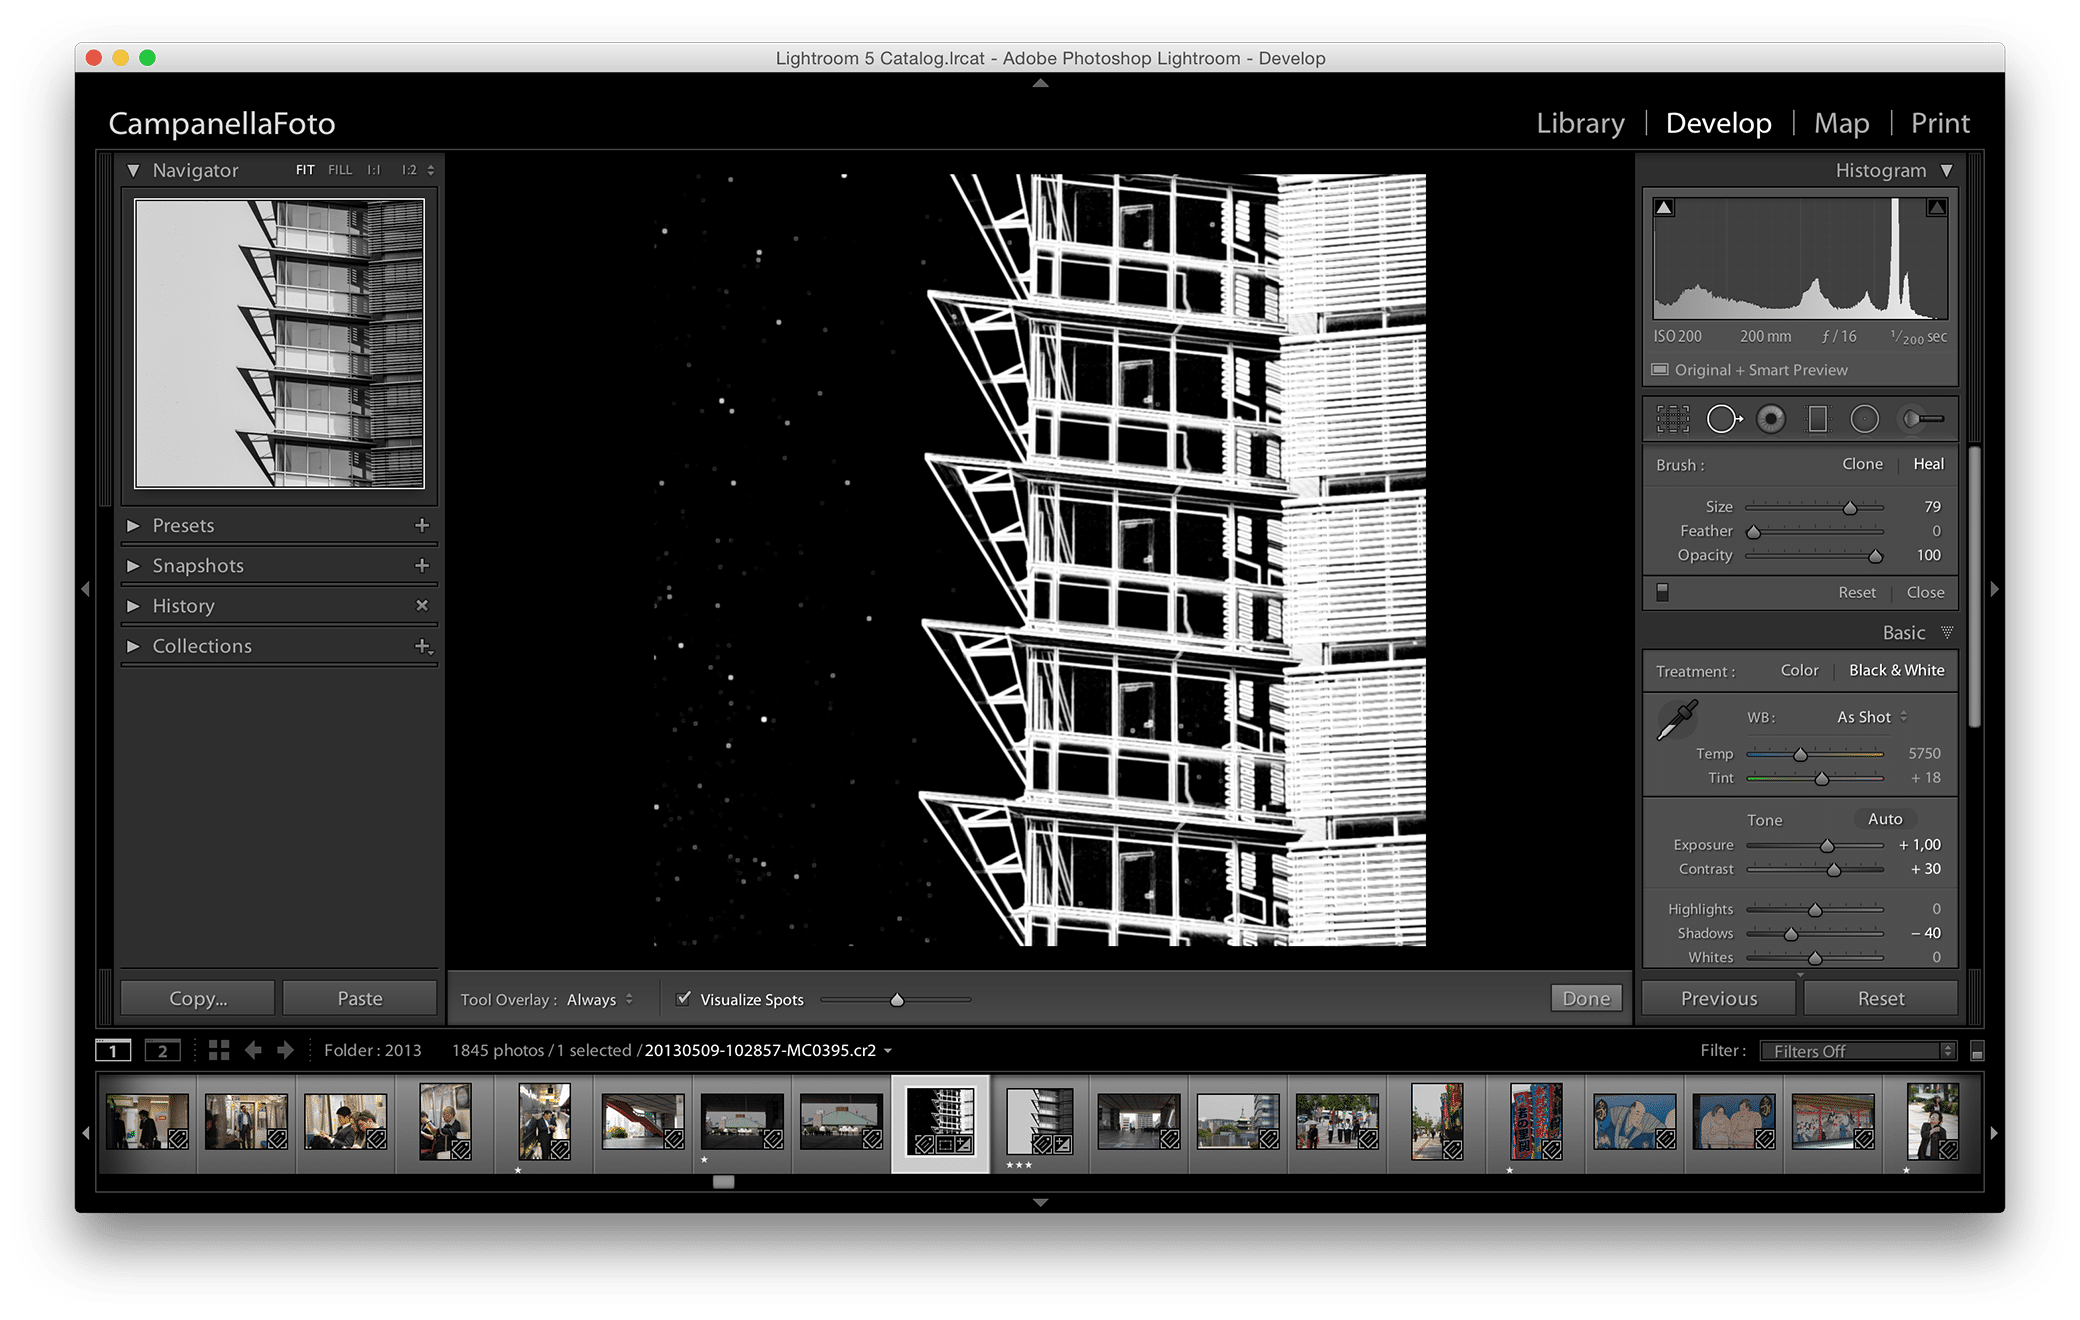
With “Visualize Spots” selected the image becomes an inverted black & white image with the dust spots clearly visible. The slider to the right of the check box makes the effect stronger or weaker.
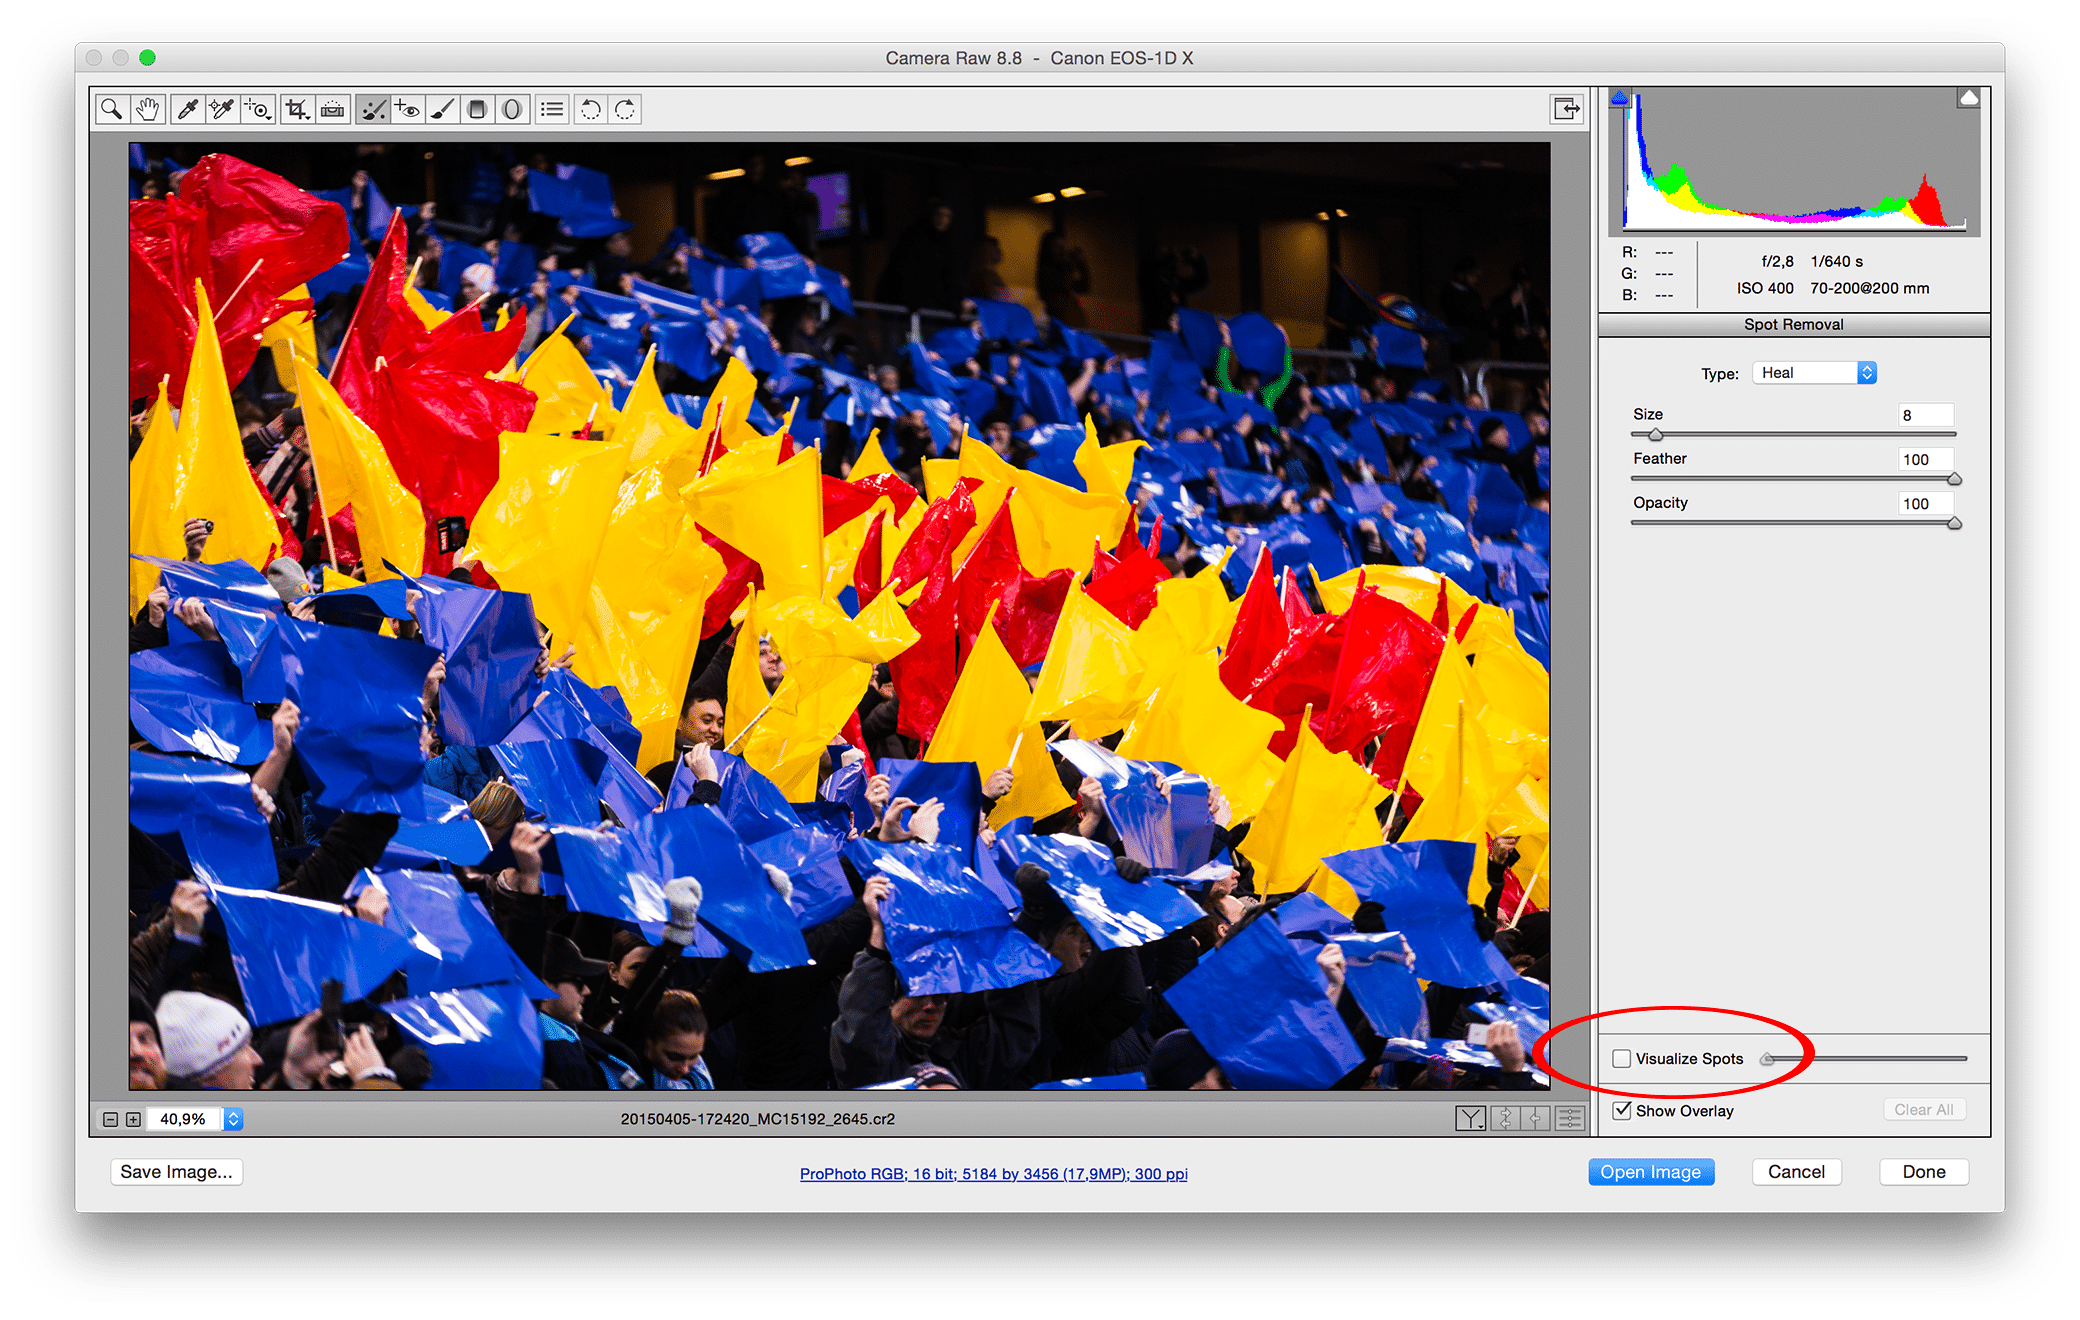
The feature is also available in Photoshop Camera RAW by selecting the Spot Removal Tool (keyboard shortcut B) and selecting the check box labelled “Visualize Spots” at the bottom of the right pane.